|
I recently found a LinkedIn post with numbers for the embodied carbon of various insulation materials. Strawbales come out close to the top with 78 kg CO2e sequestered for a 4'x8' wall at R-28! Of course, this was researched by the materials expert Chris Magwood. I actually met him at the Getting to Zero conference was in Minneapolis 2023. I may have fangirled him a bit and then invited him for a tour of the Strawhouse. He at least had no obvious critiques when he toured the place! 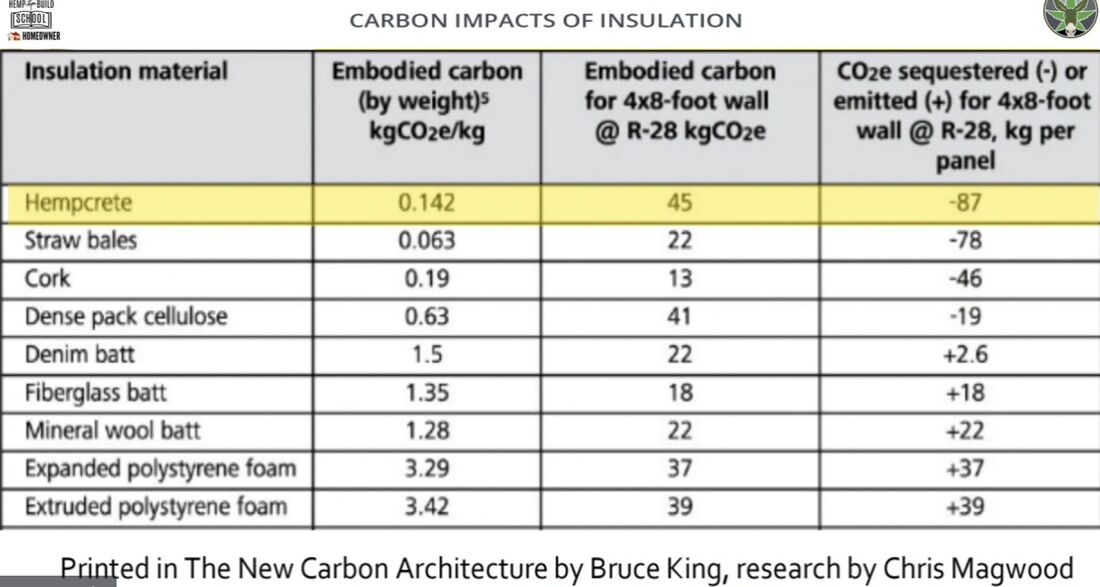
0 Comments
No pictures for this post. Today, we're laying out what's next for the Strawhouse.
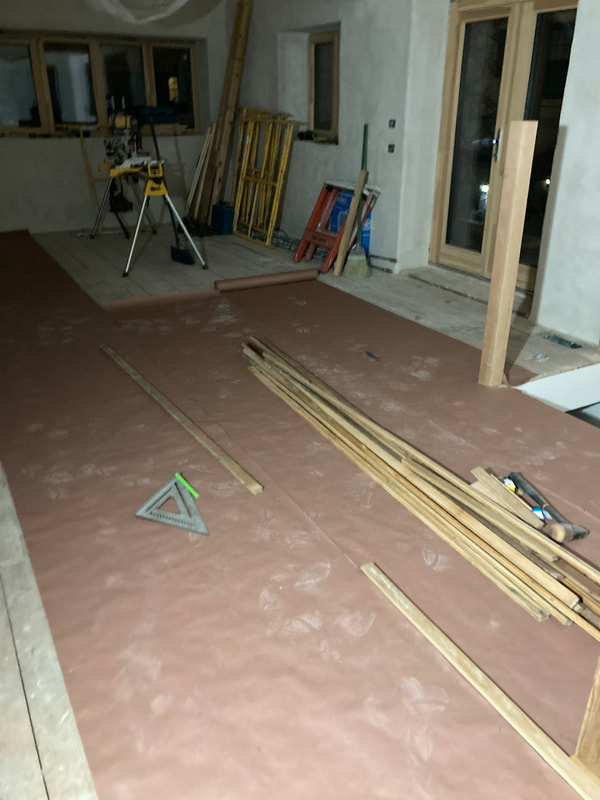
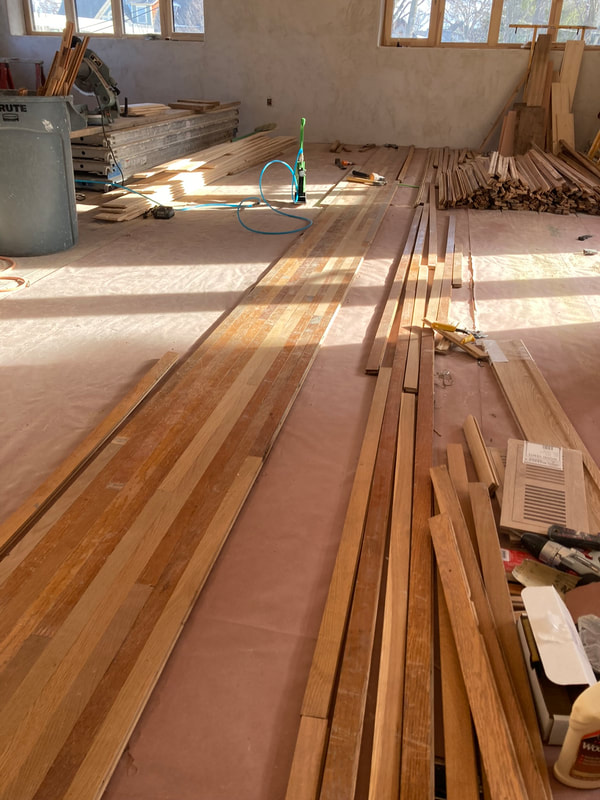
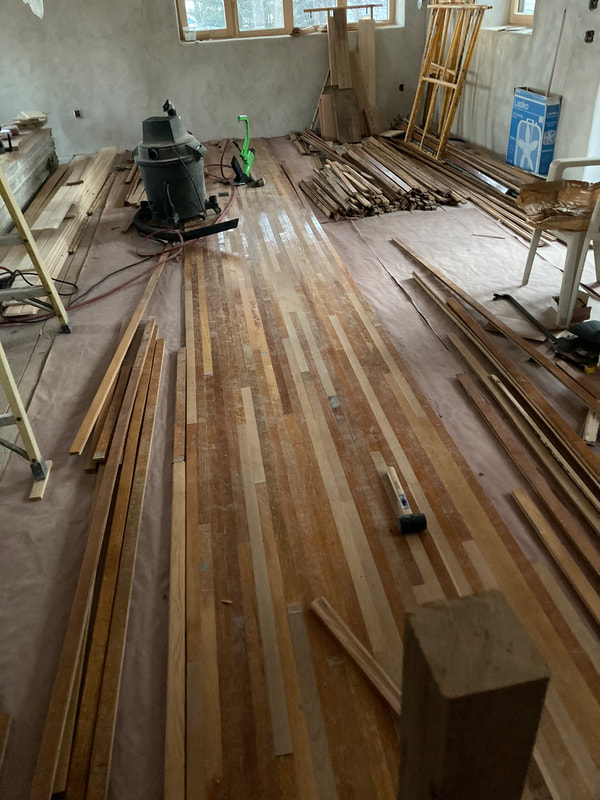
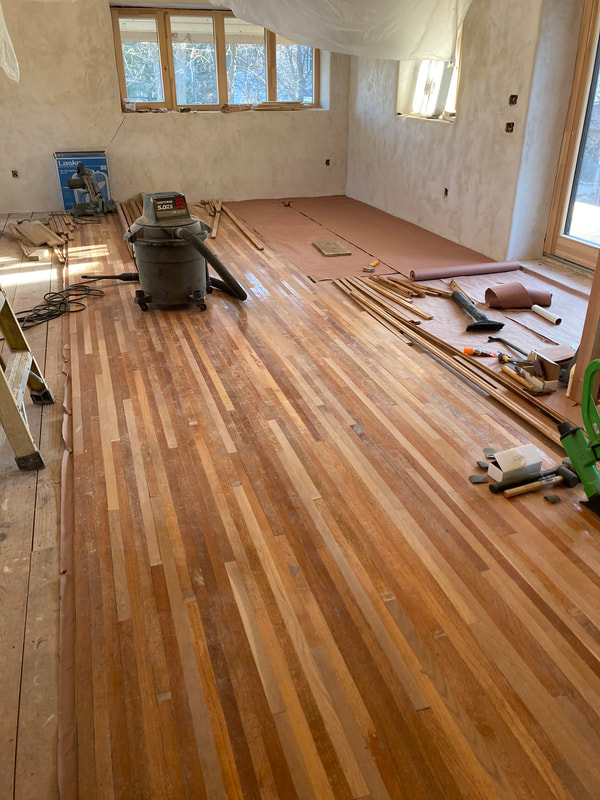
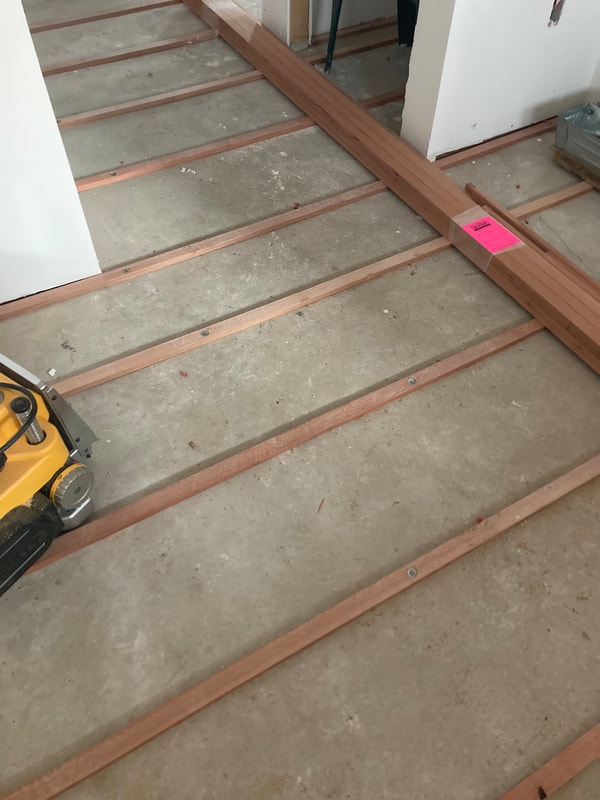
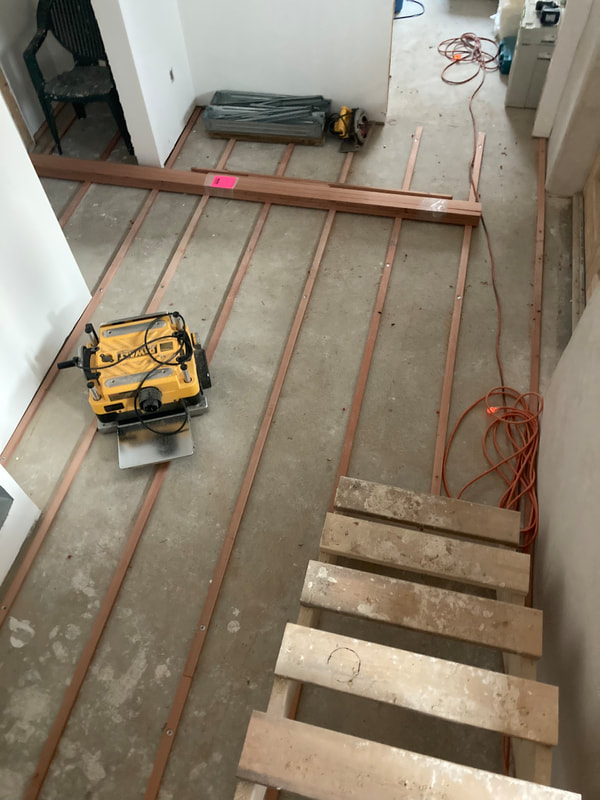
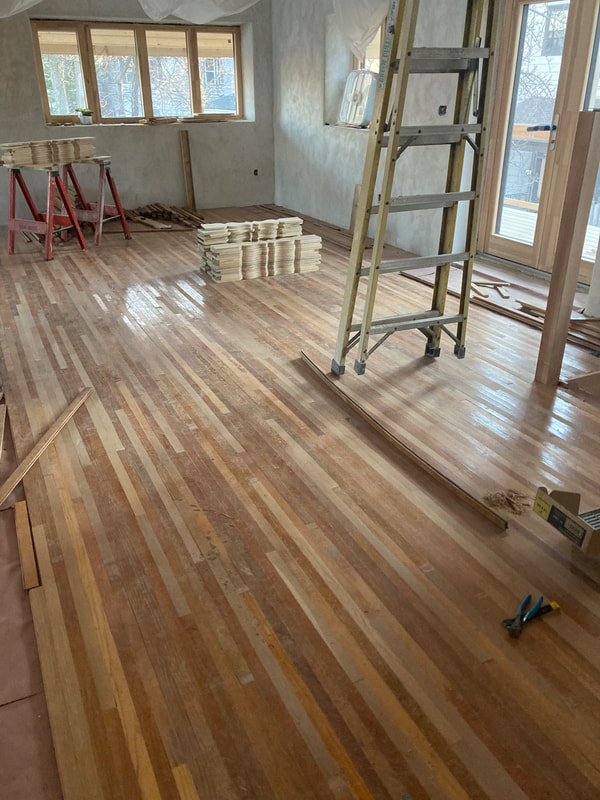
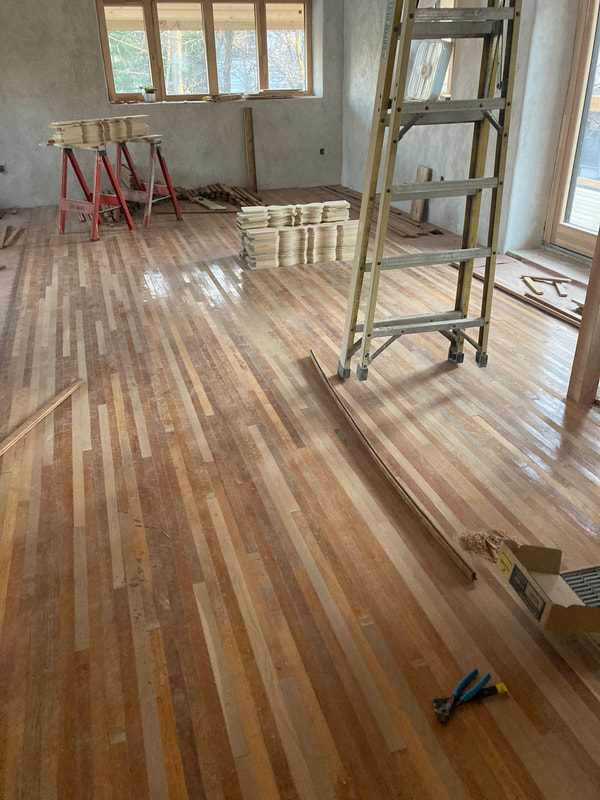
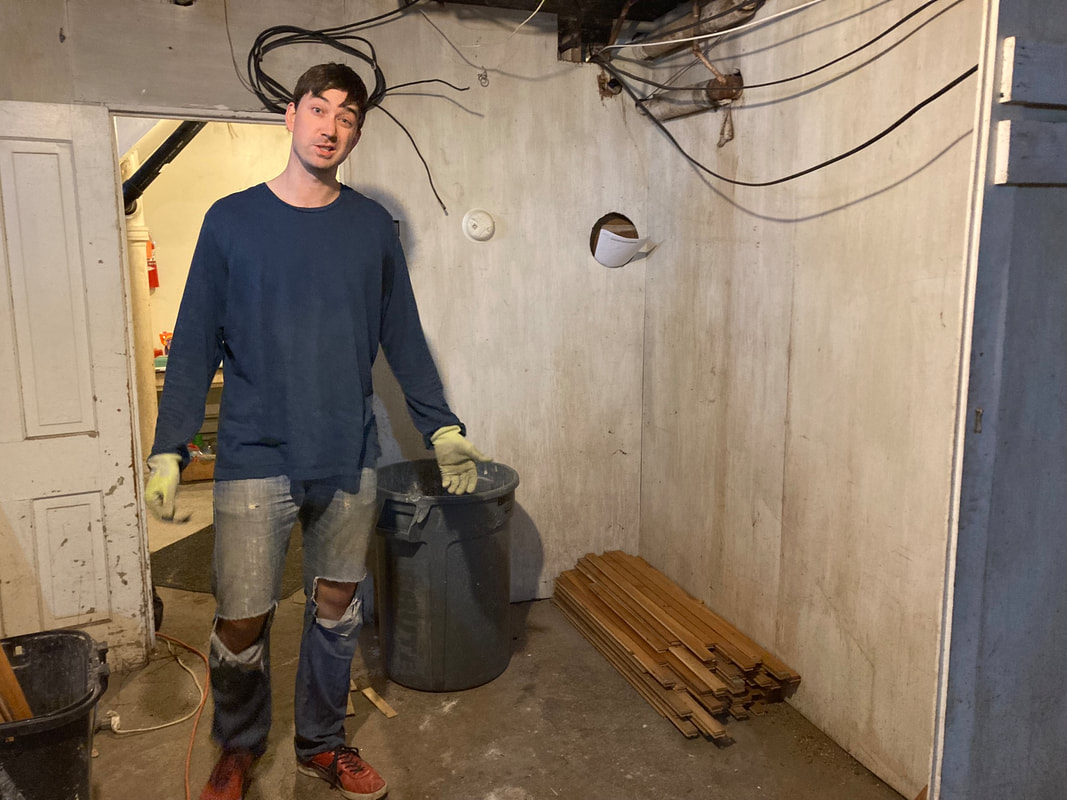
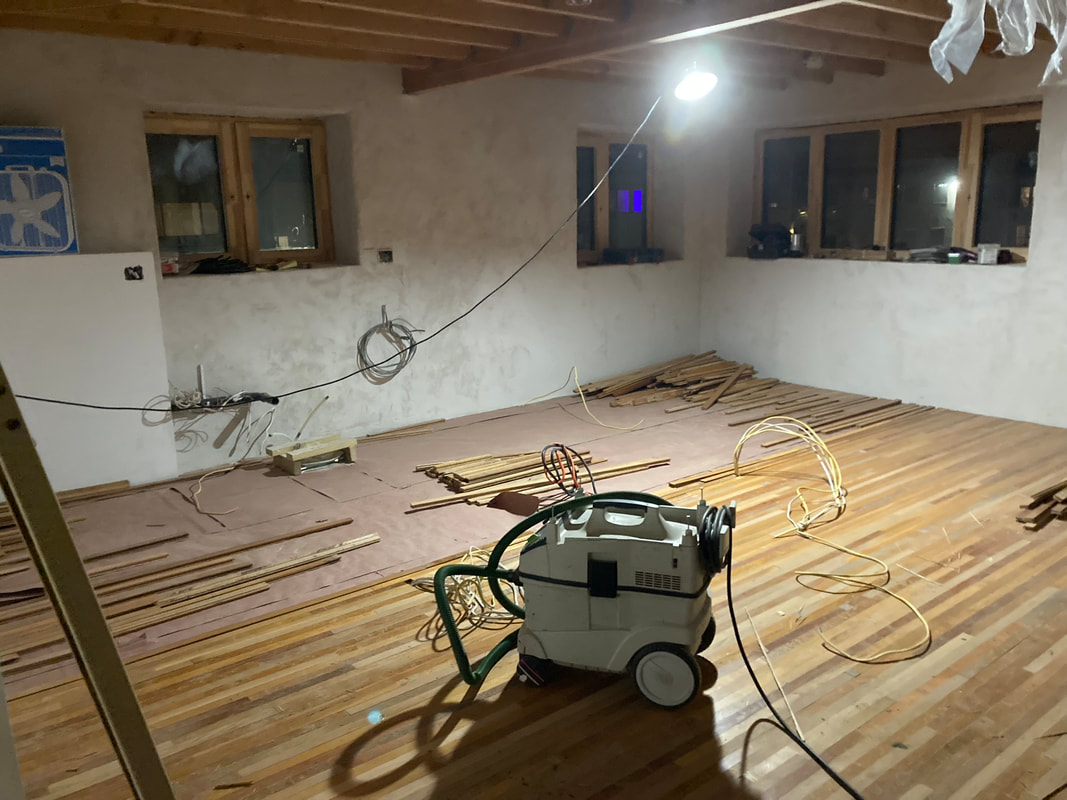
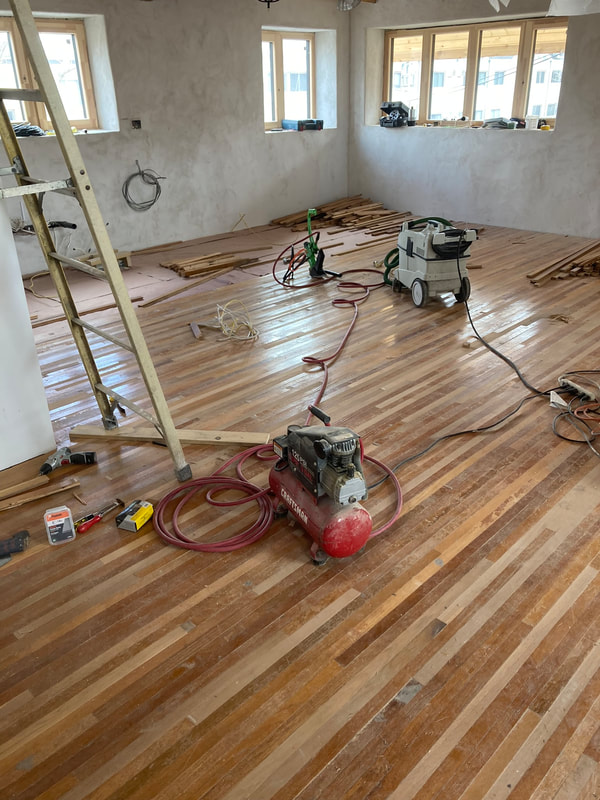
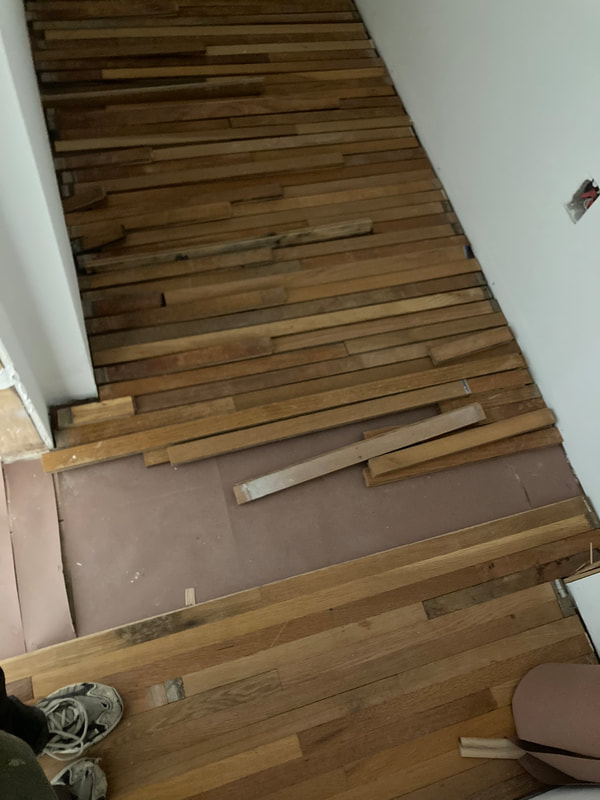
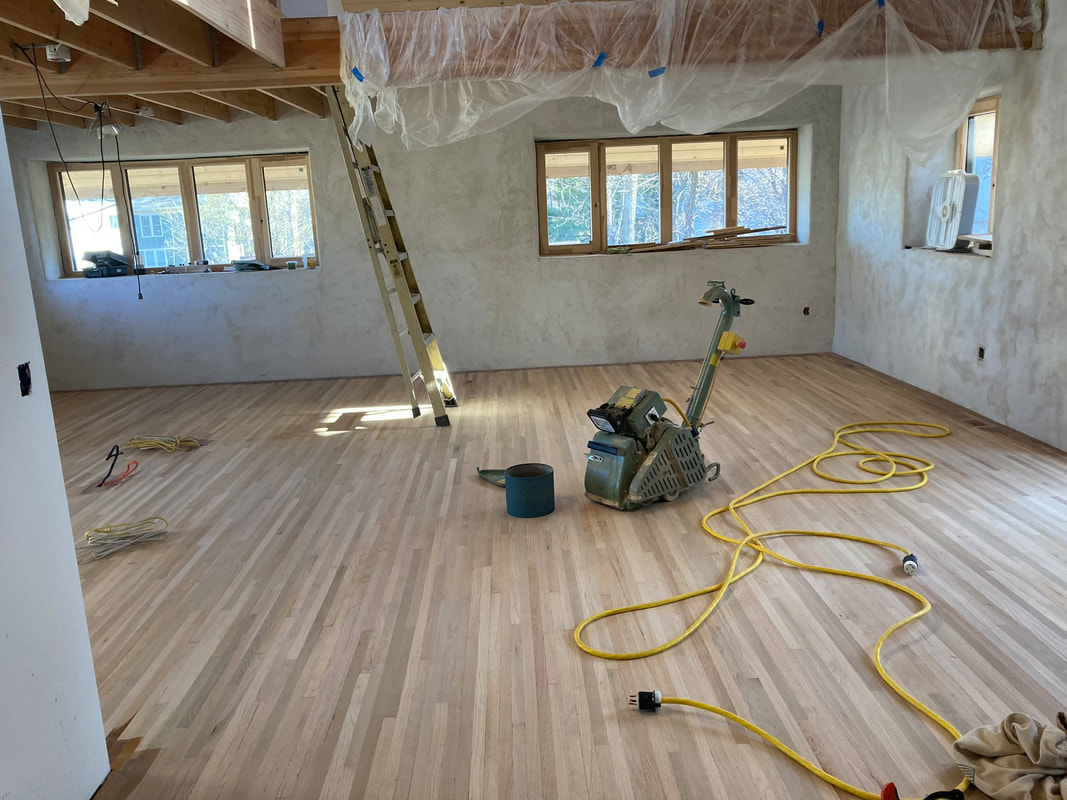
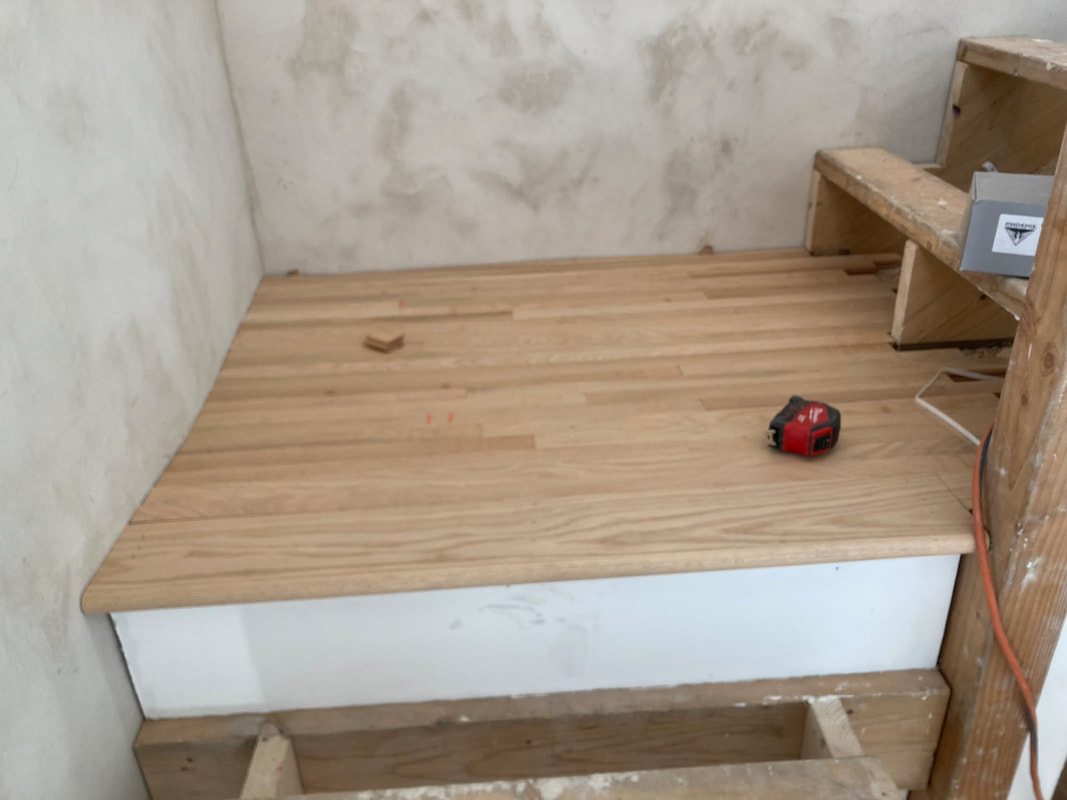
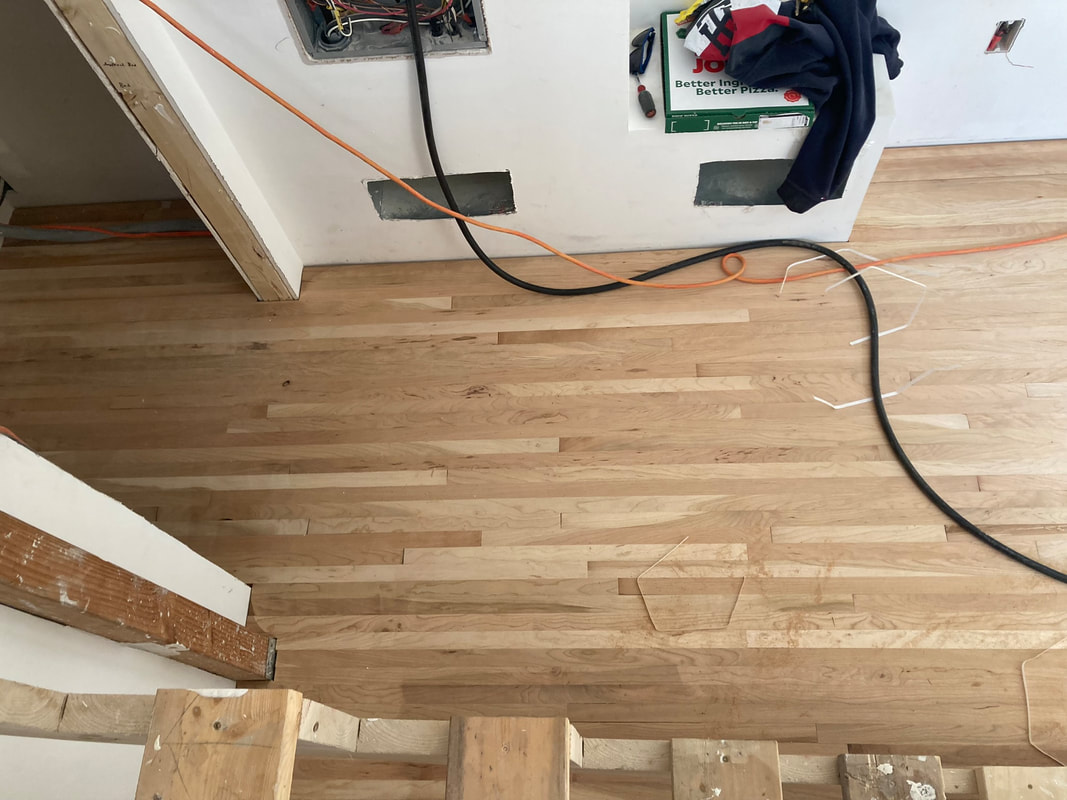
1. kitchen cabinets - Eric is cranking away on building the base cabinets. He'll install those this month so that electrical and plumbing can be finished in the kitchen. 2. bathroom and bike room tile - the generic tile we chose has been on back order for four months. It is supposed to come in and be installed next week! 3. Door finishing - Katie to finish this 4. Wall and ceiling joints / window and wall joints - Katie to touch up the plaster in these areas 5. Eric builds and installs entry way cabinet/bench, under stair door, bookshelf door to the utility room. 6. Appliances, sinks, and tub are installed. 7. Move in Nov. 1. Peter found a set of doors from an old farmhouse at a salvage shop. They were in great shape and in frames, so our A2 crew installed them. They came stained/painted, so we decided to bring them down to their natural wood color. Here are the interior doors in progress. It took us months to find a cabinet maker who would make cabinets with our criteria: - all *solid* wood - using natural based glues (i.e. hide or soy based glues) - that didn't cost an arm and a leg We talked to at least a dozen cabinet makers. All wanted to use MDF, plywood, or glues that I wasn't cool with. At the end of the day, cabinets should be compostable, not only worth of the landfill because they're filled with fossil fuel materials. We finally found Eric Anderson by word of mouth. He's a south Mpls woodworker, who is the most responsive contractor on the planet. We knew that he was the right fit for us when he 1. asked very detailed questions about our project scope, 2. was not phased by it, and 3. arrived to our site by bike! Below is a snippet of the cabinets so far! There is a story here. More to come soon. But in the meantime, PICTURES! Stair treads: we had to take down some ash trees that had grown on the property line. The lumberjack had them milled and our carpenter Greg turned them into beautiful stairs! Doors: in the spirit of thrift and reuse, we bought a set of doors reclaimed from a farm house in Greater MN for our bedroom, bathroom, and closet interior doors. They will need to be sanded and paint will need to be removed. But they're installed! And Peter successfully swapped our leftover flooring for some 100 year old pine that has become our trim! HVAC: Our air source heat pump system is in! The airhandler is still missing a piece that will have to be custom made, and the ERV will need to be installed, but we're making progress on getting some HVAC in the building. Each level of the house has a different flooring story. First floor: The professional flooring crew installed redwood heartwood sleepers on the first floor concrete. Typically, installing untreated wood directly on concrete is a big "no-no" because concrete can wick moisture through the foundation. However, given our 6 mm of poly and the 10 inches of foam, and the fact that we're on a hill, gave us confidence that using a rot resistant wood such as the heart of redwood trees would do the trick. The guys at Siwek lumber were great to trouble shoot this project with and were willing to problem solve my irregular request. The flooring crew then installed leftover 1x10s on the sleepers to create a subfloor. On top of that, they installed 1.5" cherry. Why cherry? There was surplus cherry flooring at Siweks at a deep discount ($2/sqft!). And, it's pretty :) The downside to using surplus? A lot of blunt ends. This meant that the crew had to custom notch tongues and grooves. Once the cherry was installed, the crew sanded, and sealed the floors using a Bona water-based poly. Second Floor: We reclaimed 1.5" white oak hardwood floors from a house that was being torn down in St. Paul a number of years ago. Half of the wood was installed in the triplex and the remainder sat in our basement. Using that and another ~250sqft of white oak floor donated by our architect who happened to be renovating her house, we installed this reclaimed flooring on the second level of the Strawhouse. I was overly ambitious and started this project while Peter was away, thinking that I could take 4 days off of work and get most of it done. As it turned out, my bills at the MN legislature sort of blew up and needed a lot of attention, which mean I had little time for the project. Peter came home to a partially finished project and graciously worked with me over the next several weekends to get the rest install. We got up to about the last 3 rows on the west and east (the point at which you have to top nail) and the professional flooring crew showed up. The crew finished the rows (using glues to my chagrin), sanded, and sealed the floors using a Bona water-based poly. Third floor: Because our subfloor is exposed underneath (its visible as the ceiling in the kitchen), we had a lot of conversation on whether to use 2" staples or glue. I want to refrain from using glues because they are fossil based and non compostable. Using staples makes the floor deconstructable. In any case, the concern was that the nails would protrude the subfloor and be visible. We went the staple route. The crew installed 1.5" red oak (again, surplus deal at Siweks). And in the end, the staples don't really show! Like the first to floors, the crew also sanded and sealed the new floors. After all of that work, our normal carpenter crew covered our new floors with some sort of protective sheet good, which will be removed once all of the hard construction is complete. Work on the house has been steady with plumbing and electrical work continuing as the temps finally begin to drop. On LinkedIn, I came across this article from Green Maine Homes about a new company specializing in compressed straw panels. Seems interesting (and a lot less labor intensive!). I am struggling to understand how they're fireproofing the walls. Our straw bale wall assembly necessitates plaster on either side for fire protection and water mitigation. It's unclear on their website how they achieve that. In any case, it's great to see companies focusing on natural material walls! We now have a set of stairs! The finish treads will be from a tree that came down on our property. Also, the roof insulation is in and the air barrier installed. Lastly, the framing for the plumbing chases are in. Originally, we had wanted to keep the beams under the roof exposed. However, because our house sits too close to the property line, we are required to have fire- rated material under the eaves, which also needed to be vented. Yay more costs! The easiest material to use is gypsum board, which we installed. However, the aesthetics of that purple board leaves something to be desired, so we had it covered in shiplap wood. |
AuthorKatie Jones and Peter Schmitt chronicle their building adventure. Archives
January 2024
Categories |


 RSS Feed
